Essential Pre-Job Mask Checklist for UK Home Renovators
In This Article
- Always begin with a thorough pre-job mask checklist specific to your task.
- Check mask condition, fit, and filter validity before every project.
- Match filters to the job—dust vs. chemical vapours require different solutions.
- Replace filters promptly and track their usage duration.
- Store and clean masks correctly to prevent premature wear and contamination.
- Print and display a physical checklist for consistent compliance.
- Combine respirators with other PPE for holistic protection.
- Learn from fellow UK renovators to optimise your protective gear routine.
Why You Need a Pre-Job Mask Checklist
Understanding Dust Exposure Risks in Renovation
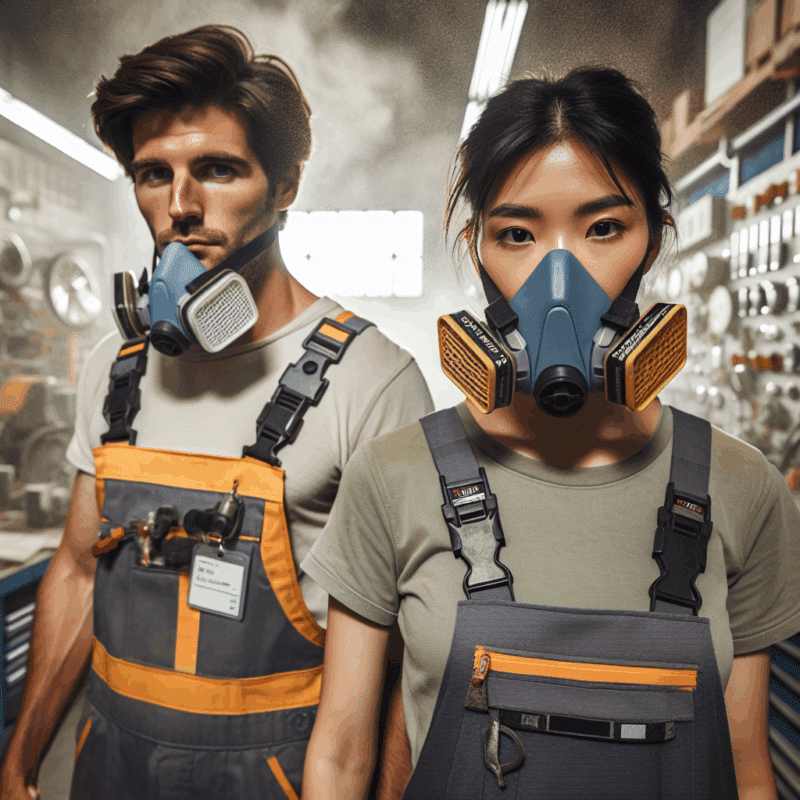
Any experienced DIYer or renovation enthusiast in the UK understands that a pre-job mask checklist is vital before plunging into work that involves dust, debris, fumes, or chemicals. Renovations often release fine particulates—especially from sanding, demolition, or painting—that are invisible to the naked eye but hazardous to respiratory health. Even short-term exposure to airborne contaminants can trigger respiratory irritation, asthma, or longer-term lung complications. As such, a pre-job mask checklist ensures you’re not just wearing any mask, but a properly working mask tailored for the specific hazards of your task. Simply put, donning an ill-fitting or ineffective mask gives a false sense of security while exposing you to serious health risks.

What to Include on Your Mask Checklist
Key Pre-Use Checks for Reusable Respirators
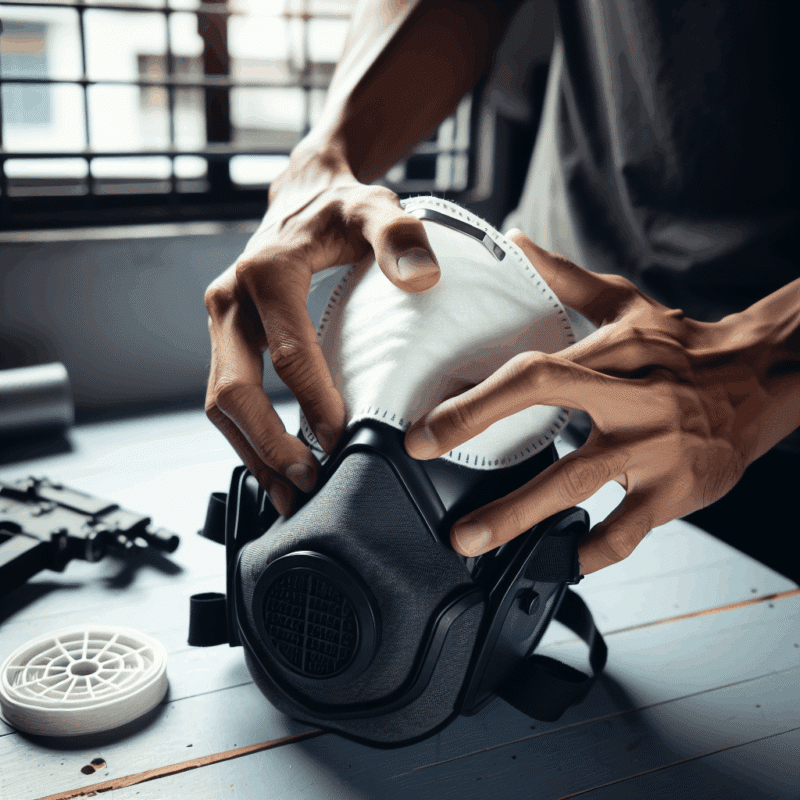
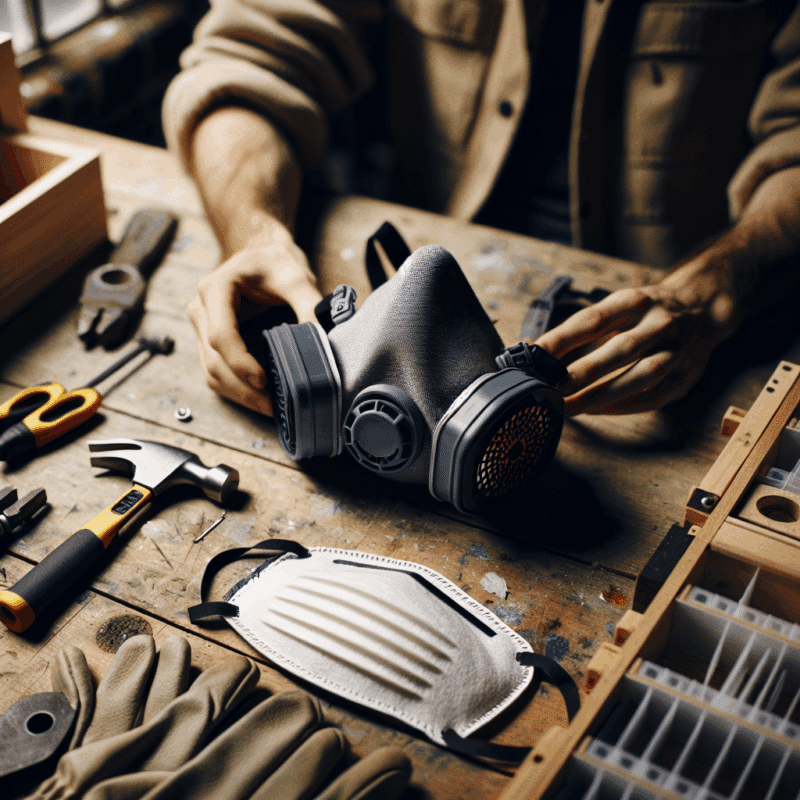
Your pre-job mask checklist must systematically verify all components of breathing protection. For reusable respirators, begin with a visual inspection of the mask shell. Look for hairline cracks, warping, or discolouration which can indicate UV degradation or past chemical exposure. Then, examine the straps. Are they stretched, frayed, or stiff? Strap elasticity is crucial for achieving a reliable seal to the face. The inhalation and exhalation valves should be checked for dirt, cracks, or brittleness. These valves are critical in maintaining air flow integrity.
Next comes filter inspection. If your mask uses replaceable cartridges or filters, confirm their expiration date and seal integrity. Dust filters often look fine on the exterior, but inside they may lose their filtering capacity over time. Charcoal or chemical filters even degrade when not in use, particularly if stored in humid or unsealed conditions. Don’t forget to clean reusable respirators thoroughly, using warm, soapy water or manufacturer-recommended wipes. Once clean, allow the mask to air-dry completely before refitting it. This process prevents bacterial or mould growth within the mask—both of which compromise the respiratory health you’re aiming to protect.
“If your mask has a filter, it’s only as good as its last inspection. Don’t assume—always verify before every job.”
How to Fit Test Your CoreMask
A critical item on your pre-job mask checklist is performing a proper fit test. Without a snug seal, even the best filter offers minimal protection. To begin, place the mask against your face and pull the straps over your head, ensuring the harness and chin cup sit comfortably. Adjust the straps until the mask feels evenly tight across the face without causing discomfort. Perform a positive pressure test by exhaling gently while blocking the exhalation valve. If air escapes around the edges, adjust until sealed. Then, do a negative pressure test: inhale deeply while covering both filters or inlets. A properly sealed mask will slightly collapse and not allow unfiltered air in. Fit testing should never be overlooked under the misconception that “close enough” is adequate. Every person has a unique face shape, making daily checking of the fit essential.
Choosing the Right Filters for the Job
One of the most overlooked components of any pre-job mask checklist is filter selection. Filters vary ranked by their capacity to remove various particle sizes and vapours. P1 filters offer basic protection against larger dust particles, suitable for tasks like sweeping or general cleaning. P2 filters are ideal for fine dusts such as those produced by power sanding or wood grinding. For even finer particles and biohazards, P3 filters are the standard. For chemical exposures—like those from paint fumes, solvents, or adhesives—use a combination filter with activated carbon or a dedicated chemical filtration cartridge.
Review the material hazards of your task prior to selecting filters. Manufacturer Safety Data Sheets (SDS) often specify required PPE ratings. Taking five minutes to verify filter compatibility might save you from prolonged respiratory discomfort or worse. Always label your filters with the start date upon instalment so you don’t lose track of service life.
When to Replace Filters During Projects
Filters aren’t eternal, and your pre-job mask checklist should include a check on filter lifespan. For particulate filters, noticeable resistance when breathing indicates it’s time to replace. For gas vapour filters, replacement should occur either after the expiry date or when you start detecting smells, whichever comes first. Keeping a log of filter use—duration, environment, and task—can help spot degradation trends. For frequent users, changing filters weekly or bi-weekly may be necessary, especially in high-dust environments. Storage conditions also impact longevity: keep unused filters sealed in airtight packaging and avoid damp environments.
Common Mistakes to Avoid
Even seasoned renovators may overlook simple errors that compromise mask effectiveness. Skipping inspections to save time is a primary issue. Equally problematic is improper storage: leaving masks loose in dusty toolboxes or damp garages shortens their lifespan. Users also commonly forget to replace expired filters or reuse disposables past their intended life. Masks should never be shared between users without full sanitisation—even occasional sharing can transfer skin oils or diseases. Fitting masks over beards or stubble is another critical error; tight seals aren’t possible over facial hair. Your pre-job mask checklist should explicitly address each of these points to ensure they don’t become recurring issues.
Checklist for Painting, Sanding, and Cleaning
Different renovation tasks demand task-specific risk assessments on your pre-job mask checklist. For painting, consider chemical filters to protect against volatile organic compounds. Use goggles in tandem with respirators to reduce eye irritation from splashes or vapours. For sanding wood or plaster, select P2 or P3 filters, and ensure the mask fits tightly to prevent ingress of fine particulates. During cleaning involving strong chemicals like ammonia or bleach, always ventilate the area well and opt for combination gas/vapour filters. Each of these tasks presents different hazards, so your checklist should be segmented by activity. A good practice is to colour-code or label task-specific mask kits to streamline readiness for the job.
Maintaining Your Mask Between Uses
Proper maintenance extends the life and safety of your PPE. After every session, disassemble reusable components to clean thoroughly. Use non-abrasive cleaners and allow all parts to dry naturally. Do not use alcohol-based wipes unless specifically approved, as they can degrade rubber seals over time. Store masks in a clean, enclosed bag or box—not loose in your toolbox. Avoid high heat or exposure to direct sunlight for long durations. Replace valves and seals annually or sooner if wear is noticed. Keeping a simple maintenance log next to your tool checklist can prompt regular upkeep. Reference materials like Learn more about Home Renovation Safety & Respiratory Protection offer printable mask servicing logs.
Printable Mask Checklist for Home Use
To streamline your processes, create a printable version of your pre-job mask checklist. Include items like ‘Check valve condition’, ‘Test strap elasticity’, ‘Verify filter expiry’, ‘Perform fit test’, and ‘Sanitise after use’. Display this checklist prominently in your workshop or garage so it’s easily referenced before every job. For your convenience, many template resources are available online—Essential safety checks for face masks offers editable formats compatible with UK PPE regulations. Having a hard copy not only enforces discipline but also reinforces safety culture among family members or other co-workers sharing the renovation space.
Supplementary PPE to Consider
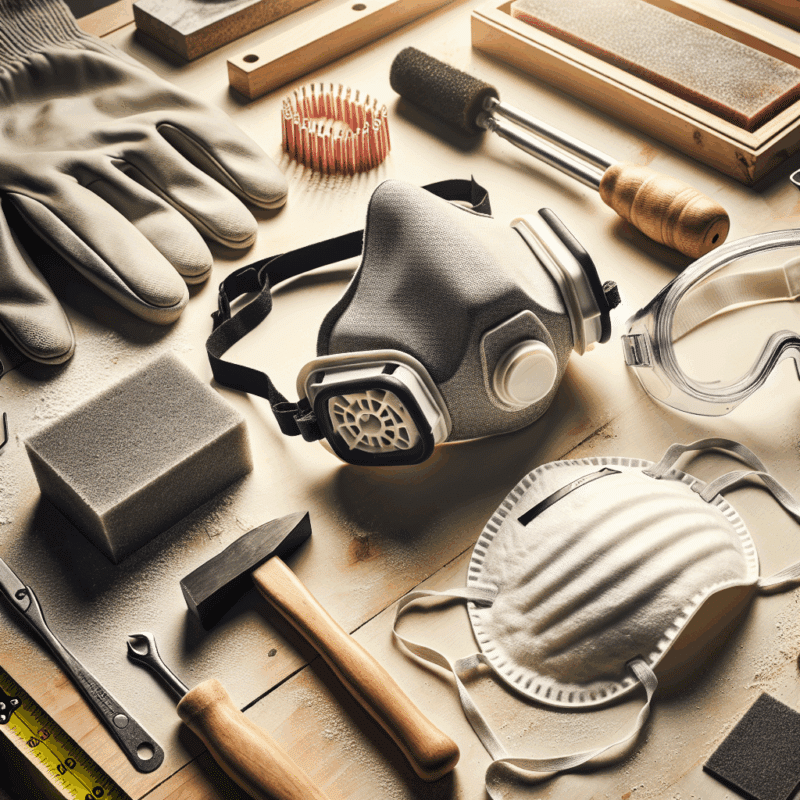
While your pre-job mask checklist ensures respiratory safety, don’t ignore full PPE coverage. Tasks involving grinding or chemicals demand impact-resistant safety goggles. Ear defenders are vital when working with loud power tools to prevent long-term hearing loss. Gloves—nitrile, leather, or chemical-resistant—protect hands during abrasive or corrosive operations. Designated workwear such as overalls or coveralls shields skin and clothing and prevents contamination spread indoors. Steel-capped boots are a must for heavier renovation tasks. Refer to Read a related article for an extensive PPE pairing guide tailored to each renovation stage. Combining protection layers significantly reduces risk, especially when working alone or in poorly ventilated areas.
Community Tips from UK Renovators
Members of the UK DIY community overwhelmingly stress the importance of embedding a pre-job mask checklist into your renovation routine. Some recommend storing masks in their own sealed toolbox compartment with silica packets to prevent moisture. Others swear by weekly Friday checks, where all PPE is reviewed and reset for weekend jobs. Attaching a dry-erase board to your garage wall for filter-change dates can help track multiple masks or cohabitants using the same gear. The common denominator is conscientious repetition—safety is a habit, not a one-time act. For additional insights, the Renovators UK Forum (How automation is changing worksite checklists) is a treasure trove of first-hand guidance and recommended brands that suit British conditions.
Wrapping Up with Safety First
Integrating a thorough pre-job mask checklist into your preparation routine is no longer optional—it’s an essential step for health-conscious UK home renovators. Whether you’re painting a nursery, refinishing hardwood floors, or gutting a kitchen, respiratory risks are unavoidable. The checklist ensures you’re equipped, aware, and protected. From filter selection to fit verification, every reminder on that list contributes to long-term wellbeing. Treat your checklist as seriously as any power tool—it might very well be the most important thing you use on the job.
Great guide on pre-job-mask-checklist-uk-home-renovators – Community Feedback
Why is a mask checklist important for home renovators?
A mask checklist ensures your respirator is fit-tested, well-maintained, and suited to your project’s hazards. This helps prevent inhalation of dust, fumes, and other airborne threats common in home renovation.
How do I know if my CoreMask fits properly?
Check for a snug, comfortable fit without gaps. Perform a fit test by inhaling and ensuring no air leaks. If you detect leaks, adjust straps or reseat the mask until properly sealed.
Which filters should I use with my CoreMask for painting or sanding?
Use particulate filters for dust, and carbon filters for vapours or paint fumes. Always refer to the CoreMask product guide to match the filter to your specific renovation task.

