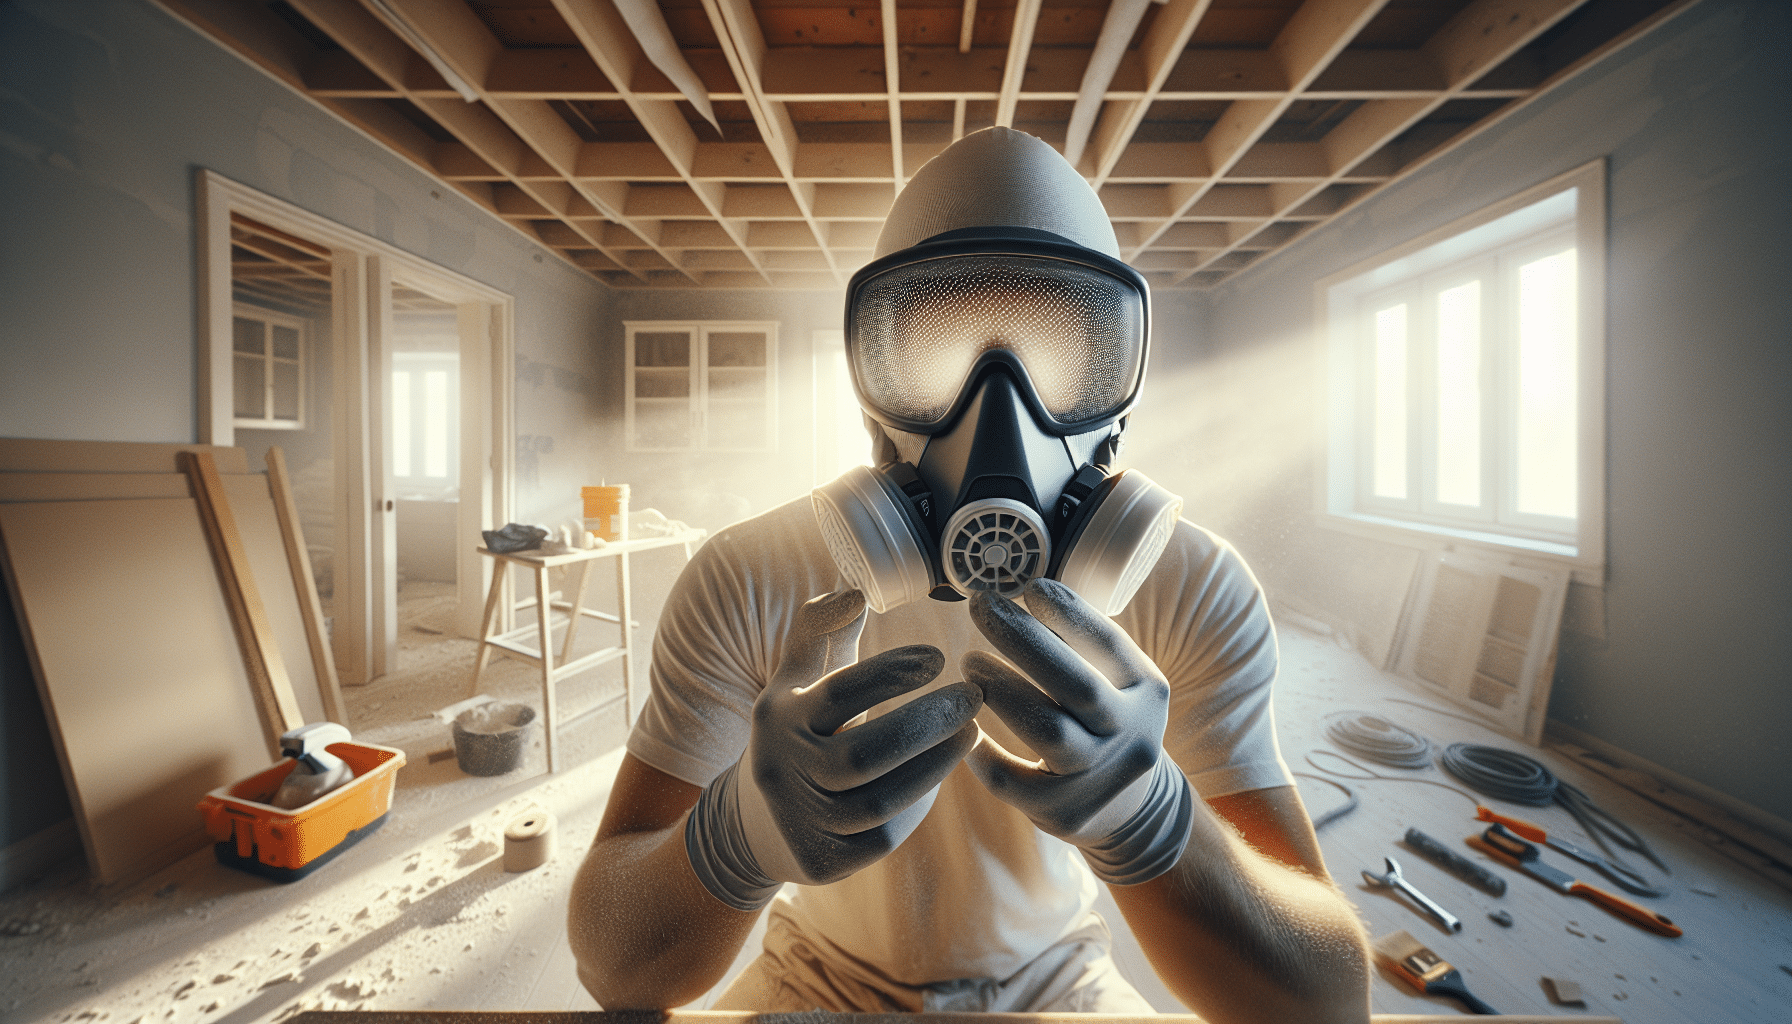
DIY Mask Fit Test: Interactive CoreMask Guide for Home Renovators
In This Article
- A secure mask seal is essential for filtering harmful particles and vapours.
- CoreMask technology enhances sealing with ergonomic and modular design choices.
- Seal checks and qualitative fit tests are effective ways to verify home-use masks.
- Facial hair and strap misalignment are common causes of poor fit—adjust accordingly.
- Consistent maintenance and filter selection enhance long-term health outcomes.
Why Proper Mask Fit Matters in Home DIY
Risks of Poor Respirator Seal
Poorly fitted masks provide a false sense of security. When you perform a mask fit test at home and it reveals air leaks, it’s a clear sign your safety is compromised. DIYers exposed to fine dust particles, chemical fumes, and allergens without effective respiratory protection risk long-term health consequences. These hazards include silicosis, respiratory infections, and even occupational asthma. When masks don’t sit correctly on your face or if gaps are present, contaminants bypass the filtration system entirely, rendering even high-grade filters ineffective.
A significant risk in home renovation projects is airborne particulate matter. Sanding drywall, cutting wood, or stripping paint releases microscopic particles. Without a robust seal, these can infiltrate your lungs unnoticed. Conducting a mask fit test at home ensures integrity of the seal and helps you identify potential issues before starting work. By proactively testing your equipment, you protect not only yourself but those around you from cross-contamination in shared household air.

Understanding CoreMask Fit Technology
Design Elements Supporting Fit
The CoreMask system incorporates advanced ergonomic design principles to ensure a snug and secure face seal. Using hypoallergenic, flexible silicone, the facial contact zone adapts to different face shapes, minimising air gaps and friction points. A well-fitted CoreMask contour eliminates pressure hotspots while maintaining even distribution around the nose and jawline. This anatomical alignment is essential when performing a mask fit test at home, as it maximises the chance of achieving a successful result without professional aids.
Additionally, CoreMask employs a dual strap tension system. These adjustable straps evenly distribute force across the crown and lower neck, stabilising the mask even during frequent movement. The central exhalation valve decreases resistance, ensuring effective airflow without compromising the integrity of the seal. Another key innovation is the modular filter mount that accepts custom filter styles—aiding its versatility and ensuring compatibility with various environments, from woodworking to painting. These enhancements aim to facilitate consistent fitment and comfort throughout extended DIY sessions.
“CoreMask’s engineering solves 90% of fit failures commonly encountered in household renovation applications.”
Steps to Conduct a Mask Fit Test at Home
User Seal Check Procedure
A mask fit test at home can be conducted using procedures adapted from professional workplaces. Firstly, position the mask carefully on your face, adjusting the straps so the mask sits evenly across your nose and chin. Perform a positive pressure test by covering the exhalation apparatus and exhaling gently. If you feel air escaping along the edges, the fit is inadequate. Re-adjust as necessary.
Follow this with a negative pressure check: cover the filter inlets and inhale. The mask should slightly collapse against your face, a sign of proper suction indicating an airtight seal. During this check, hold your breath for at least 10 seconds. Feel for any unusual trickles of air or movement. For enhanced accuracy, repeat these tests in front of a mirror and while wearing any additional PPE such as goggles or hearing protection to ensure compatibility. Adding mild facial expressions like smiling or talking during testing helps identify movement-induced leaks that static checks may miss.
DIY Methods: Qualitative vs Quantitative Fit Testing
Which Is Practical For Renovators?
There are two standard approaches to mask fit tests at home: qualitative and quantitative methods. Qualitative tests rely on your sensory perception. Using a harmless test agent like saccharin or Bitrex, sprayed around the mask’s perimeter while you perform a series of motions and speech exercises, you can detect mask leakage via taste or smell. This method is cost-effective and requires minimal equipment, making it ideal for most DIY environments. Learn more about Respirators & Dust Protection for DIY
Quantitative tests, on the other hand, offer scientific precision using particle counting instruments. These machines measure the concentration of particles inside the mask compared to ambient air. While highly accurate, such apparatus can be cumbersome and expensive. As such, quantitative testing is generally reserved for industrial or medical settings. For hobbyists and at-home renovators, qualitative methods serve as a practical and reliable alternative—especially when paired with CoreMask’s ergonomic design principles to increase the likelihood of an accurate seal.
Common Fit Issues and How To Fix Them
Signs of Improper Fit
Identifying a bad fit during a mask fit test at home is essential. Indicators include discomfort around the edges, consistent fogging of glasses, difficulty breathing, and shifting of the mask during motion. These signs point to structural misalignment or improper strap tension. Additionally, if you notice warm air leaking from the top of your mask or feel cool drafts during inhalation, you likely have seal gaps undermining protection.
Corrective action includes reseating the mask and performing another seal check while varying facial motions. Strap adjustments should be symmetrical, with enough tightness to form a seal, but not so much as to cause skin indentation or block airflow. If leaks persist, consider using a different mask size or adding a mask brace or seal enhancer. The CoreMask platform accommodates add-on accessories specifically for challenging fits, which proves especially useful when working for long durations or in high humidity conditions.
How Facial Hair Affects Seal Efficiency
Recommendations for Beard-Wearers
Facial hair is a notorious disruptor of mask function. Even a day’s stubble can significantly impact the seal, allowing contaminants to bypass the filter medium. Full beards, moustaches, and sideburns prevent the mask from sitting flush against the skin. During a mask fit test at home, bearded individuals often experience high failure rates due to multiple microgaps introduced by hair interference.
Experts universally recommend shaving areas where mask meets skin. If shaving is not an option due to religious or personal reasons, consider using a powered air-purifying respirator (PAPR) or masks with built-in positive pressure systems, which are more forgiving of beards. For CoreMask users with facial hair, regular testing is even more critical. Some users experiment with gel or petroleum sealants around the edges, though results vary. Consistency in testing and a willingness to adapt your grooming habits are key to maintaining effective respiratory protection.
PPE Layers: Match Your Mask With the Right Filters
Selecting CoreMask-Compatible Filters
Even with a perfect fit, your mask’s protective ability heavily depends on the quality and suitability of its filters. CoreMask supports a variety of high-efficiency particulate filters, gas filters, and combination cartridges. For standard DIY tasks like sanding wood or drywall, a P2-rated particulate filter suffices. However, painting projects with volatile organic compounds require activated carbon filters to neutralise harmful fumes. It’s essential to consider what specific hazards you’re dealing with before conducting your mask fit test at home. Read a related article
Installing the correct filter is a two-step process: selecting the appropriate rating, and confirming a gasket seal between mask and filter. Always double-check that filters are properly aligned and seated. CoreMask employs a click-lock mechanism for error-proof installation. Misaligned filters aren’t just inefficient—they can cause leaks at the junction. Once a new filter is installed, repeat your seal check procedure to verify system integrity.
What Experts Recommend for DIY Dust Safety
Piloting CoreMask During Real Renovations
Construction and public health experts consistently advocate for fit-tested respirators in environments with airborne particulates. According to one HSE official, “Many of the injuries we see result from complacency about fit, not equipment failure.” When trialling CoreMask in real renovation settings, users report enhanced comfort and confidence, especially when pairing fit testing with routine maintenance and inspection protocols. How to perform a home mask fit test
Professional guidance suggests scheduling daily user seal checks and monthly deep-cleaning routines. Masks should be stored in sealed, clean containers between uses to avoid contamination. Experts also recommend logging your mask fit test at home results and keeping detailed records on filter lifespan and maintenance to ensure preparedness during repeat use.
CoreMask Best Practices from the Community
What Users Are Saying
CoreMask users have created an engaged community of DIY enthusiasts, renovators, and hobbyists who report their experiences online. Many praise the ease of performing a mask fit test at home using CoreMask’s built-in design cues and visual indicators. A recurring theme is how the adjustable straps and silicone seals outperform older masks, especially when worn for hours. Additionally, users share creative workarounds for achieving tighter seals such as adding foam nose bridges or wearing skull caps to hold the upper strap position. Ensuring trust in online safety resources
Some have even posted their own instructional videos demonstrating successful qualitative fit tests using household items—like incense sticks to detect air movement. This peer-driven ecosystem helps improve product usage through shared knowledge, keeping the CoreMask user base informed, up-to-date, and safer overall.
Quick Tips to Improve Your Mask Wearing Experience
Strap Adjustment, Comfort, and Longevity
Improving your mask-wearing comfort begins with mastering the straps. Ensure the top strap sits high on the crown and the lower one wraps securely below the ears. Straps should be tensioned evenly; asymmetrical pressure causes misalignment. Replace worn-out or bent straps promptly. Even small deformities can affect your mask fit test at home.
To increase comfort over long periods, consider using moisture-wicking headbands or cushioned inner liners. CoreMask offers moisture guards and anti-sweat overlays that maintain breathability while protecting seal integrity. Store your mask in a ventilated but clean location, and avoid leaving it in damp or hot environments such as garages or tool sheds. Regularly check valve operation and replace filters as needed. With these proactive habits, your CoreMask will not only fit better—but last much longer.
Conclusion: Take Control of Your Respiratory Safety
Performing a mask fit test at home is not simply about ticking a box; it’s about taking ownership of your health and safety. While large-scale construction workers have access to professional fit testing, home renovators and hobbyists also face significant exposure risks. With the right tools—such as CoreMask, proper filters, and repeatable testing routines—you can bridge the gap between professional-grade safety and at-home practicality.
Great guide on diy-mask-fit-test-interactive-coremask-guide – Community Feedback
How do I test the fit of my CoreMask at home?
To fit test your CoreMask at home, perform a user seal check by covering the filters, exhaling gently, and feeling for air leaks. Adjust the straps and mask position until no leaks are detected.
Can I perform my own mask fit test for renovation work?
Yes, DIY mask fit tests are possible. Use a qualitative fit method, such as a taste test aerosolised under a hood, or follow user seal checks before each use for reliable tightness.
What are common signs my mask isn’t fitting correctly?
Common signs include feeling airflow around the edges, mask slipping during movement, or a collapse not occurring when inhaling with blocked filters—suggesting adjustments are needed.

