DIY Mask Fit Test: Home Guide with CoreMask & Pads
In This Article
- Incorrect mask fit can nullify filtration and expose you to hazardous particles.
- CoreMask is uniquely designed for accurate home testing and adaptability.
- Positive and negative pressure checks offer fast additional testing methods.
- Facial hair impacts fit; consider zonal shaving or pressure-adhesive seals.
- Fit testing should be repeated quarterly, or sooner if environmental or physical factors change.
Why Mask Fit Matters for Home Renovators
The risks of poor dust mask sealing
A proper mask fit test is critical for anyone working in environments where dust, mould, insulation fibres, or chemical particles are present — especially home renovators. When a dust mask or respirator does not create a secure seal against the face, harmful particles can bypass the filtration mechanism and be directly inhaled. This exposure can cause both short-term irritation and long-term respiratory damage, including potentially life-threatening conditions like silicosis or chronic obstructive pulmonary disease (COPD).
In home renovation settings, there’s a misguided belief that simply wearing a dust mask offers adequate protection. Unfortunately, if the fit is compromised — due to facial hair, incorrect strap tension, or ill-fitting mask shapes — that protection is reduced or nullified. Fine particles from cutting tiles, sanding drywall, removing old insulation, or even stripping paint laden with lead can all become airborne threats. A qualitative or quantitative mask fit test ensures the dust mask forms an effective barrier, adapting to individual facial contours and resilient against movement across long hours of labour.

Understanding the CoreMask System
Features of CoreMask and how it improves safety
CoreMask has become a preferred choice among serious DIYers and professional renovators due to its focus on adaptability and precision in personal protective equipment. At its core, it offers multi-layered filtration, robust sealing materials, and reusable comfort pads. The system was designed with the average home renovator in mind, acknowledging that users often work in varied and unpredictable conditions where high-grade workplace PPE isn’t readily available.
Unlike generic masks, the CoreMask incorporates breathable synthetic seals that adjust flexibly to different face shapes. The mask itself comes with adjustable tension straps positioned not just on the back of the head, but laterally near the ears to ensure full wrap-around sealing. What truly sets the CoreMask apart is its compatibility with DIY testing tools — pads and pressure-check features that allow wearers to simulate real-world exposure and measure airtightness without specialised lab equipment.
“CoreMask enabled me to fit-test at home without expensive kits — a game-changer for weekend renovators like myself.”
The DIY Fit Testing Method Explained
Step-by-step on how to test mask fit at home
Conducting a DIY mask fit test using CoreMask components is a straightforward process that enhances your safety drastically. Here’s a practical breakdown of the procedure:
Step 1: Start by securing your CoreMask on your face. Adjust the upper and lower straps until the mask sits comfortably but tightly against your skin. Pay attention to the area around the bridge of your nose, cheeks, and chin — these are typical leak points.
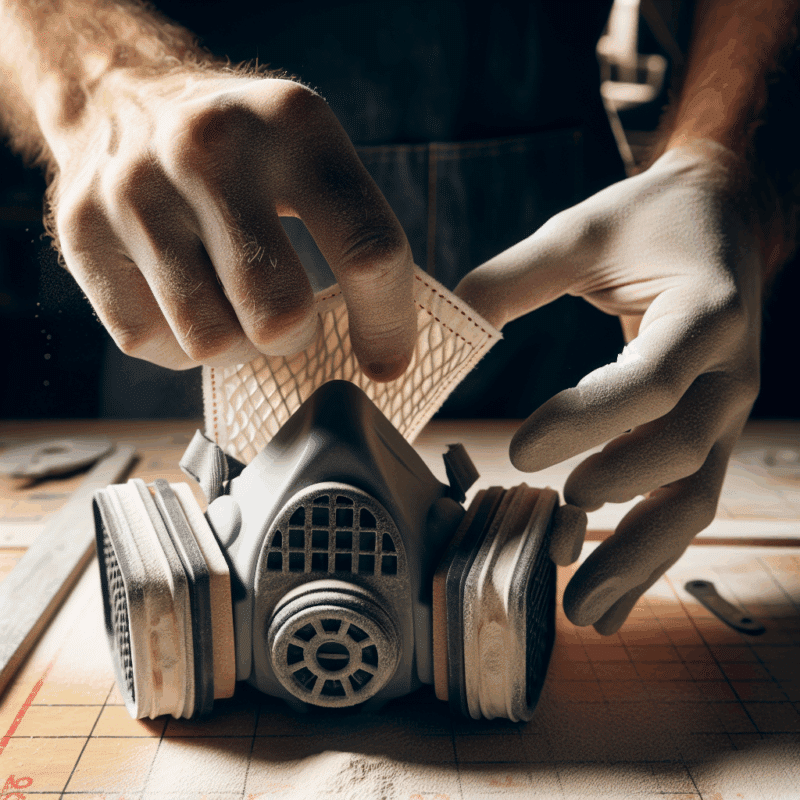
Step 2: Insert CoreMask’s test pads embedded with a sensitive aerosol agent. These react with breathable air compounds, helping detect leaks when inhaled.
Step 3: Stand in a well-ventilated but enclosed environment. Perform normal movements: turn your head left and right, speak sentences, and bend over. Each of these stretches the mask seal dynamically.
Step 4: If the aerosol is detected (commonly via a taste detection agent such as saccharin or bitterness), it indicates seal failure. In that case, readjust the mask and repeat the process.
This accessible process bypasses the cost of quantitative testers while giving home users confidence that their mask will perform under pressure. For more detailed mask tool maintenance, visit Learn more about Respirators & Dust Mask Protection for DIY.
Positive and Negative Pressure Seal Checks
How to perform and interpret results
Beyond aerosol-based fit tests, pressure seal checks offer a fast and simple way to test security day-to-day. Used correctly, they supplement more formal procedures and help assess routine fit before exposure begins.
Positive pressure test: Place your hands over the exhalation valve and gently exhale. If the mask bulges slightly without air escaping along the seal edges, the mask passes. If you feel any air leakage around the cheeks or nose, the seal must be adjusted or improved.
Negative pressure test: Cover the inhalation ports (often the filter area) and inhale slowly. The mask should collapse slightly onto your face and stay collapsed while you hold your breath. If it reinflates or air rushes in, a gap exists.
Consistency in these checks helps identify seal failures early, reducing reliance on sensation alone. Successful implementation of both pressure tests is a good indicator — but not a substitute — for a formal mask fit test.
Common Mistakes in DIY Fit Testing
What to avoid when using CoreMask pads
Despite CoreMask’s intent to be user-friendly, important errors can compromise results. One typical mistake is wearing a CoreMask too loosely, causing the seal to gap when speaking or sweating. If straps are incorrectly tensioned — especially too tight on one side — the mask may leak unevenly.
Another frequent issue is contamination of the mask seal. Facial lotion, oils, or leftover cleanser residue can create a slippery barrier, hampering adhesion. To avoid this, clean your face prior to donning your mask. Also, never test your mask immediately after heavy facial movement or exertion — wait a few minutes for your breathing and skin muscle tension to stabilise.
Finally, many users forget to replace test pads regularly. The sensitivity of these pads degrades over time, especially when stored in humid spaces. Follow CoreMask storage guidelines thoroughly, and for mask maintenance techniques, explore Fit testing protocols and NIOSH guidance.
Using CoreMask With Facial Hair
Tips for getting a proper seal with beards or stubble
Facial hair presents a well-known challenge to achieving a reliable seal during a mask fit test. Even light stubble can lift the edge of the mask off the skin, creating leak points. For users who prefer not to be clean-shaven, there are still strategies to improve performance.
Firstly, use CoreMask’s high-tack thermal seals. These adapt slightly better to textured surfaces. Applying slight pressure across the chin and cheeks while donning the mask also helps embed the seal momentarily, improving suction adherence. Shaving or trimming just around the sealing zone while retaining facial hair elsewhere — a technique known as the “seal zone shave” — can also optimise protection.
Regular testing is especially crucial for bearded users. Even minor hair growth can shift the effectiveness of a previous fit test. For facial hair sealing products that assist with this, visit Read a related article.
When to Repeat Your Fit Test
Frequency and signs your mask fit needs attention
A mask fit test is not a one-and-done activity — it must be repeated regularly. For home renovators, we recommend quarterly testing or more frequently if specific risk factors are present. Pay attention to several signs:
- If you’ve recently trimmed or grown facial hair
- If you’ve dropped the mask or damaged any part of it
- If you notice changes in comfort, airflow, or smell during use
- If performing in unusually high-dust environments
Seasonal changes also impact fit. Temperature shifts alter mask material rigidity, and humidity can increase slippage due to perspiration. These natural changes compound over time, so establishing a quick check-in regimen every few projects keeps lungs well guarded.
Tools That Help: Straps, Pads, Filters
How components like CoreMask pads support fit accuracy
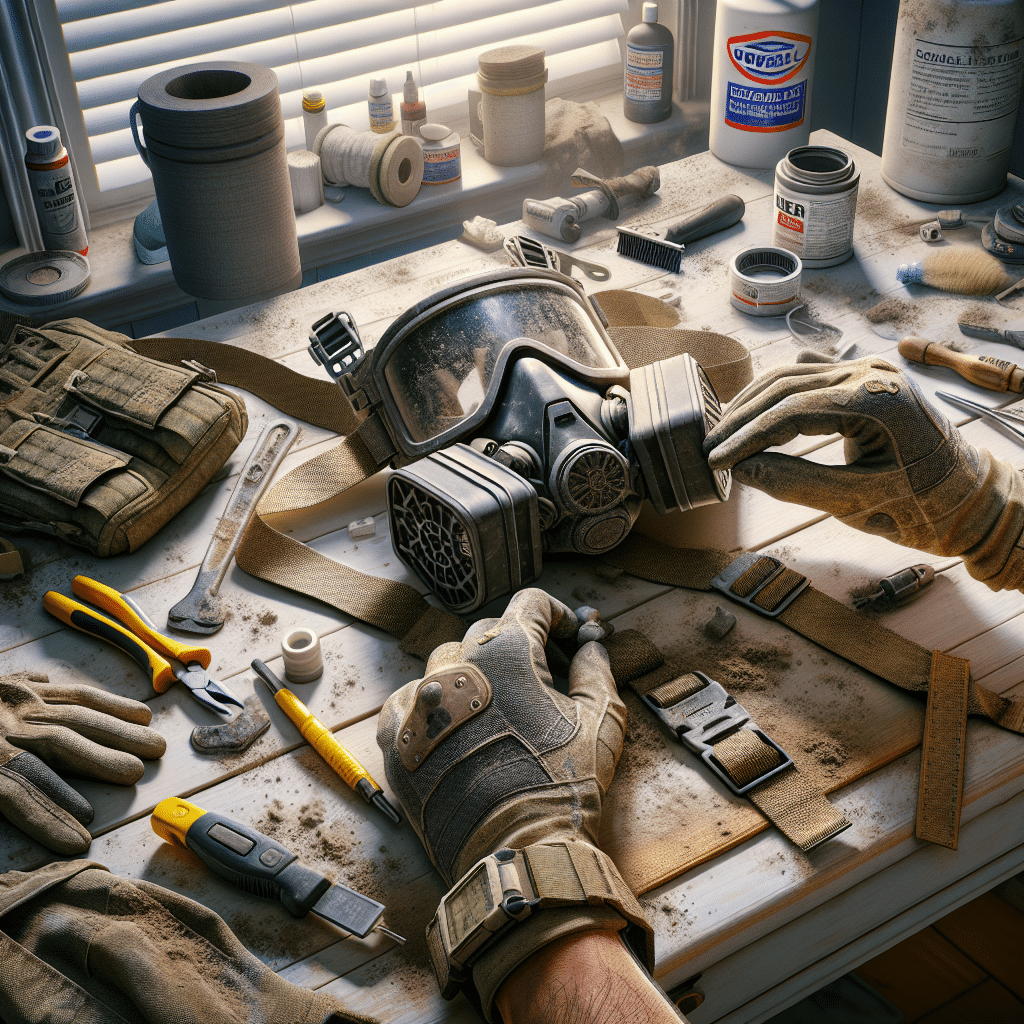
CoreMask’s supporting tools elevate the fit test process to a higher standard. The first tool to understand is the pressure-distribution strap system. These straps distribute tension evenly around the back and side of the head, accounting for different cranial shapes that cheaper masks fail to accommodate.
The test pads themselves are pre-saturated with chemical indicators that assist in visual or sensory validation. Replacing them every 2–3 tests maintains their accuracy. Moreover, CoreMask filters are designed to balance airflow without cracking the seal — a problem in other units with heavy filters that tug the mask away during motion.
Each of these elements works together to optimise the mask’s function. For further comparative reviews of fit enhancing tools, see Automated brand growth strategies for compliance.
Community Fit Test Tips from Renovators
Advice from real users in home settings
Feedback from the DIY community reveals a wealth of insights. One user noted the value of performing fit tests in front of a mirror to observe seal integrity — something often missed by feel alone. Another recommended scheduling fit tests into the start of every weekend renovation effort, making it habit-based and routine.
Others shared success using light smoke pencils (without inhalation hazard) to visually confirm air leakage trails. Some even developed spreadsheet logs to record results and tie them to specific masks or conditions — useful for managing projects across longer timeframes.
This peer-driven knowledge base underscores the importance of shared expertise. Practical adaptations often emerge from real use cases, not just manuals.
Don’t Skip Fit Checks—Your Lungs Rely on It
A final reminder on safety during DIY dust exposure
Dust exposure can be insidious. Symptoms don’t always appear immediately, making it easy to underestimate risk. A strong, recurrent mask fit test regimen is part of a broader respiratory health strategy, not merely a box-ticking exercise.
Wearing protective gear is prudent, but assuring that it functions correctly is critical. Skipped tests or accepted shortcuts lead to minimal protection — or none at all. Every DIY enthusiast, whether patching drywall or sanding kitchen cabinetry, must take proactive steps to remain safe. Your lungs cannot be replaced; your sealing pads can be.
Conclusion
The CoreMask system enables a reliable, accurate, and repeatable mask fit test that empowers home renovators to take their safety into their own hands. With comprehensive features, fit-assist tools, and a thriving knowledge-sharing community, it has become the gold standard for DIY respiratory protection. Whether you’re tackling a major renovation or a small woodworking project, investing time in testing your mask’s fit can make a world of difference for your long-term health.
Great guide on diy-mask-fit-test-coremask-home-renovators – Community Feedback
How do I check the fit of my CoreMask at home?
Check mask fit by adjusting CoreMask pads and straps, ensuring no airflow around the edges as you exhale sharply. Perform both positive and negative pressure seal checks for best results.
What makes a reliable mask fit for home renovators?
A reliable mask fit forms a complete seal on your face, with no leaks. CoreMask uses ergonomic straps and pads; test by feeling for air movement and following home fit test protocols.
Do I need professional equipment for mask fit testing?
No, most home users can perform basic fit tests without specialist tools—just use your hands to cover the mask, adjust for comfort, and ensure there’s no airflow or leakage.


